
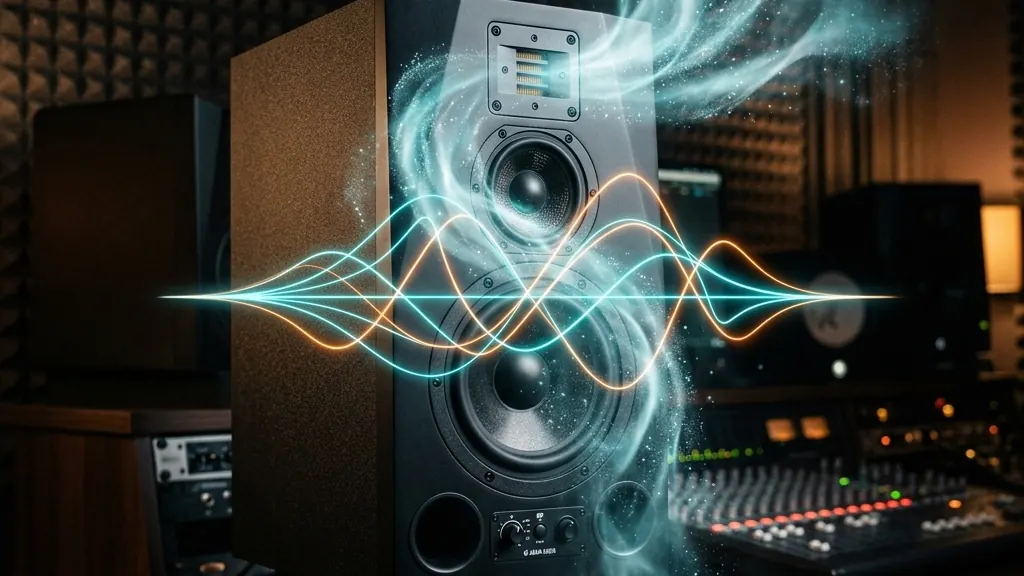
What "air" really means in a track
Air in a mix is not simply "more treble." It is the feeling of openness, breath and space that appears when the highest harmonics are audible but not aggressive. Good air makes the vocal feel closer, cymbals sound polished, reverbs breathe, and the whole master feel more expensive and three-dimensional.
The problem is that many producers try to add air with a basic treble boost. In practice, they often boost sibilance, roughness, kick click, metallic hi-hats or digital noise. The result is the opposite of polish: the track gets brighter, but also more tiring. After a few minutes, the listener wants to turn it down instead of playing the chorus again.
High-end bands: presence, harshness, brilliance and air
The biggest mistake is treating the entire top end as one control. High frequencies have several different jobs, and each range changes the emotional impression of a song in a different way.
- 2-4 kHz - presence and intelligibility: This pushes vocals forward, gives snare more attack and makes guitars clearer. Too much of it creates a shouty, pushy mix.
- 4-8 kHz - harshness, sibilance and click: This is where many "s", "sh" and "ch" sounds live, along with kick click, distortion roughness and metallic cymbal attack. It often pretends to be air, but becomes painful very quickly.
- 8-12 kHz - brilliance: This adds cymbal sheen, vocal brightness and a more hi-fi character. It can still be overdone, especially with bright hi-hats and aggressive samples.
- 12-18 kHz - air: This is the actual air region: breath, space, gentle analog noise, reverb openness and the highest overtones. The boost is usually wide and subtle, not surgical.
In practice, a good high-end is not a boost from 5 kHz upward. Sometimes the best way to get more air is to calm 5-7 kHz slightly, then add a gentle shelf above 12 kHz. The top end opens up without biting.
Air starts at the sources, not on the master
If no element in the arrangement contains natural air, a master-bus EQ will not create it magically. It can only raise what already exists: noise, sibilance, cymbals, reverb, samples or compression artifacts. That is why you should inspect the sources first.
- Vocals: Good air often comes from breath, microphone choice, pop-filter distance and sibilance control. A vocal recorded too dark or too close to the mic may need treatment on the track, not the master.
- Cymbals and hi-hats: These are the most common enemies when adding air. If the hi-hat is too loud or the sample is aggressive, every mastering shelf will raise it along with the vocal.
- Pads, noise and texture layers: A gentle noise layer, bright pad or subtle reverse reverb can add space without boosting the entire mix.
- Arrangement: Air is audible when the track has room. If the chorus is filled with synths, guitars, cymbals and ad-libs all at once, the high-end cannot breathe.
The conclusion is simple: before adding air on the master, solo the vocal, hats, overheads, effects and background instruments. Often fixing one aggressive element makes the entire master feel more elegant.
EQ, saturation and exciters: adding shine without plastic
The safest tool for air is a broad high-shelf. On an individual track, 1-3 dB above 10-12 kHz can sometimes work. On the master, 0.5-1.5 dB is often enough. If you need more, the issue probably belongs in the mix rather than mastering.
Be careful with narrow boosts in the highest range. Air should feel soft and wide. A narrow peak can reveal a cymbal whistle or vocal resonance that sounds exciting on your monitors but hurts on headphones.
- High-shelf: Best for natural openness. Use a wide curve and compare before/after at matched loudness.
- Tilt EQ: Useful when the whole mix is too dark. It shifts the balance: less low-end, more high-end, but it is easy to overdo.
- Exciter / harmonic saturation: Can generate new overtones, but can also create glassy digital harshness. Use it in parallel and enable oversampling if available.
- Dynamic EQ: A strong compromise. It lets you add air only when the top-end is not already too sharp.
Sibilance: the biggest enemy of expensive air
Sibilance means sharp consonants and articulation noise, usually around 5-9 kHz. If you add air without controlling sibilance, the vocal can sound like a compressed MP3 with an overdone enhancer. This is why some masters sound bright on monitors but unpleasant on earbuds.
A de-esser is not just a tool for fixing bad recordings. In modern pop, rap, EDM and vocal music, it is often a normal part of the chain that allows you to add beautiful top-end later without pain.
- If the vocal is already hissing before adding air, use a de-esser on the vocal track first.
- If the vocal starts hissing only after a high-shelf, try a de-esser after the EQ or dynamic EQ around 5-9 kHz.
- If the cymbals are hissing, do not automatically fix them with a de-esser on the whole master. Check the drums, overheads or hat group first.
Air is also space: reverb, delay and effect tails
Air does not always come from the dry signal. Very often, the feeling of openness comes from a well-set reverb or delay. A short plate on the vocal, subtle room on the snare or bright filtered delay can create space without heavy EQ boosts.
The biggest mistake is uncontrolled reverb. If the reverb has too much midrange, the mix gets cloudy. If it has too much 5-8 kHz, it gets hissy. If it has too much 12-16 kHz, it can sound cheap and artificial. That is why an EQ on the effect return matters: high-pass the low-end, calm the harshness and control the tail.
Air in mastering: final polish, not rescue work
On the master bus, air should be final polish. If you use it to rescue a dark mix, you risk boosting every problem at once. A mastering high-shelf affects the vocal, cymbals, noise, reverb, kick click, distortion and export artifacts simultaneously.
Work in small steps. Add 0.5 dB, compare. Add another 0.5 dB, compare at lower volume. If the track feels more exciting but less comfortable, you probably boosted presence or brilliance too much, not true air.
- Compare with gain matching: Brighter often seems better simply because it is louder.
- Check earbuds and phone speakers: An overly bright master quickly becomes papery and tiring on small playback systems.
- Watch True Peak: Adding top-end can raise peaks, especially with bright transients and cymbals.
- Do not work tired: After a long session, your ears lose sensitivity and it becomes easy to over-brighten the track.
How Aumixys helps evaluate air and high-end
Aumixys will not replace your artistic decision, but it gives technical checkpoints that help separate elegant air from accidental harshness.
- Spectrum and tonal balance: You can check whether the high-end is naturally distributed, or whether there is a harsh bump around sibilance or a dark roll-off above 10 kHz.
- True Peak and clipping: If you add air in mastering, check whether bright transients increase clipping risk or distortion after transcoding.
- AI Tips: Suggestions may flag a dark profile, sharp high band, listener fatigue risk or imbalance between top-end and midrange.
- A/B Compare: Compare the version before and after adding air. If the new version is only brighter but not clearer, undo the move or apply it to individual sources instead of the master.
Frequently Asked Questions (FAQ)
Where is the "air" range in a mix?
Most often it means roughly 10-16 kHz, sometimes 8-20 kHz more broadly. It is not the same as vocal presence around 3-6 kHz or sibilance around 5-9 kHz.
Why does adding top-end make a mix harsh instead of expensive?
Usually the wrong band is being boosted. If you add 4-8 kHz, you emphasize attack, sibilance and roughness. Real air often needs a gentle wide shelf above 10-12 kHz plus sibilance control with a de-esser.
Can air be added on the master bus?
Yes, but very carefully. On the master bus you boost the whole song at once, so you can raise hi-hats, noise, sibilance, reverb and codec clipping risk together with the shine. Fixing the sources in the mix is usually safer first.
Check it on your track
See whether the top end adds air or starts increasing harshness, sibilance, and listening fatigue.